Previous: A House With No Mouse Up: Step-by-Step Examples Next: JDR/AJR File Formats
A Lute Rose
This example illustrates how to use symmetric shapes and
patterns. The aim is to design the lute rose (the decorative
cover of a lute's sound hole) shown in
Figure 11.139. This example uses a radial grid. All
co-ordinates (R:A) are radial
co-ordinates where R is the radius (bp) and A is the angle (degrees).
- Set the paper size to A3 landscape using the
Settings->Paper menu.
- Use Settings->Grid->Grid Settings to select a
radial grid with 100bp major division interval, 10 sub-divisions and
32 spokes. (See Figure 11.126.)
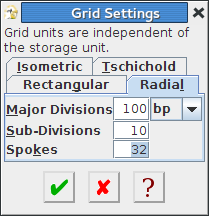 |
Figure 11.126: Selecting a Radial Grid
- Create a path (using the open curve tool and
the edit path tool) starting at (20:-170)
containing three Bézier segments with control points:
- (145:-145), (215:-145), (200:-170)
- (200:135), (200:-115), (200:170)
- (210:150), (255:115), (200:100)
(See Figure 11.127)
 Although the co-ordinates are being specified as radial
co-ordinates, they are always stored as rectangular co-ordinates.
This conversion may cause slight rounding errors.
Although the co-ordinates are being specified as radial
co-ordinates, they are always stored as rectangular co-ordinates.
This conversion may cause slight rounding errors.
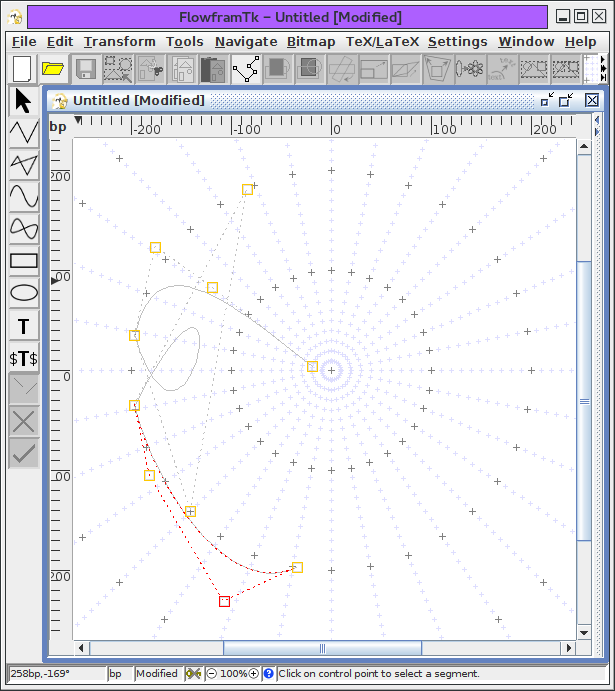 |
Figure 11.127: The Underlying Path
- In edit path mode, use the
popup menu and select Has Symmetry
(see Figure 11.128).
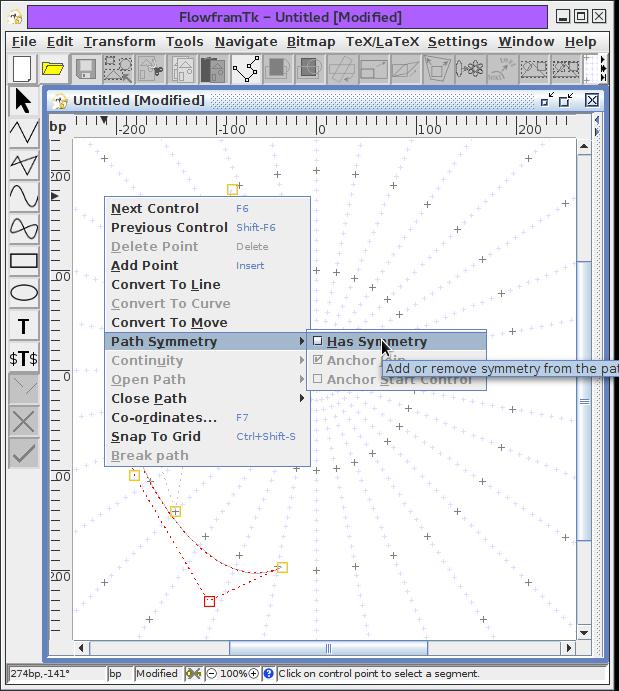 |
Figure 11.128: Give the Path Symmetry Using the Popup Menu
Using the edit path popup menu again, deselect
Anchor Join (see
Figure 11.129).
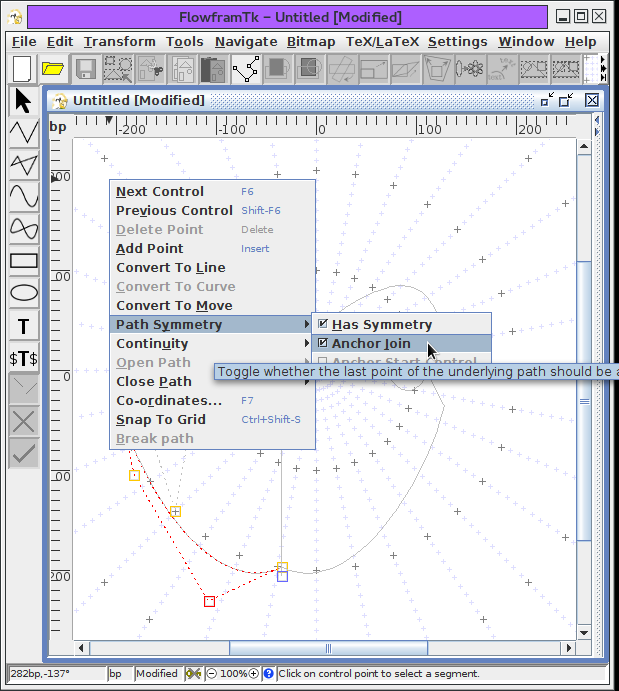 |
Figure 11.129: De-anchoring the End Control Using the Popup Menu
- Still in edit path mode, move the control points governing the line of symmetry (coloured blue by default) to
(85:-90) and (215:90) (see Figure 11.130).
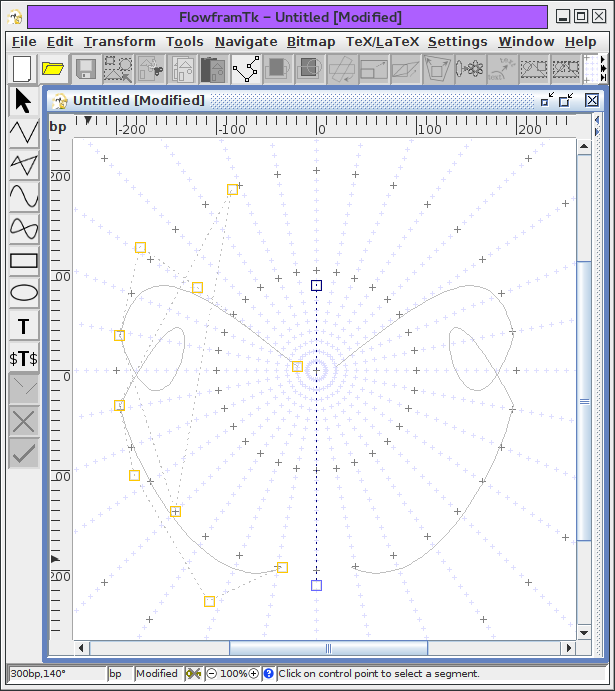 |
Figure 11.130: Move the Line of Symmetry
Select the last control point on the path (not including
the line of symmetry) and select the edit path popup menu item
Convert To Curve. This should add a curve
segment that joins the underlying path with its reflection (see
Figure 11.131). Note that this joining segment only has
one curvature control to enforce symmetry.
 |
Figure 11.131: Add a Joining Curve Between the Underlying Path and its
Reflection
- Move the curvature control point on the join segment to
(200:0) (see Figure 11.132).
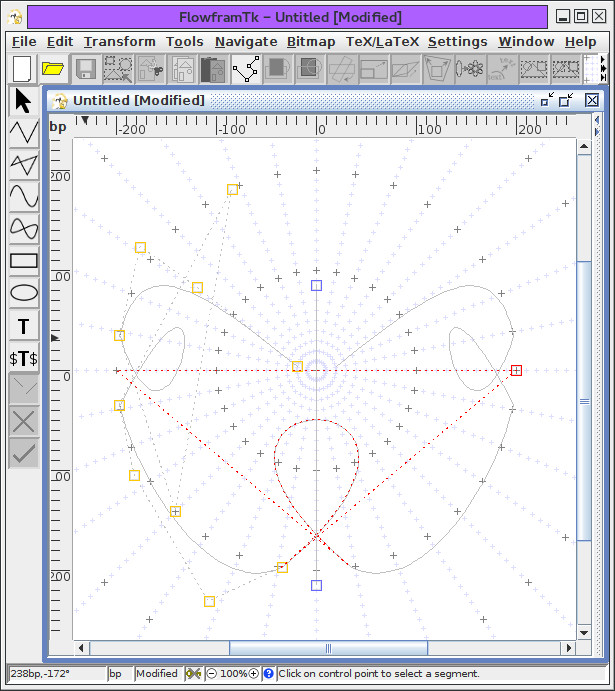 |
Figure 11.132: Adjust the Curvature Control of the Join Segment
- Leave edit path mode and, ensuring the path is still
selected, use the Edit->Path->Line Styles->All Styles
menu item to change the path style to: 10bp pen width, round
cap and round join (see Figure 11.133).
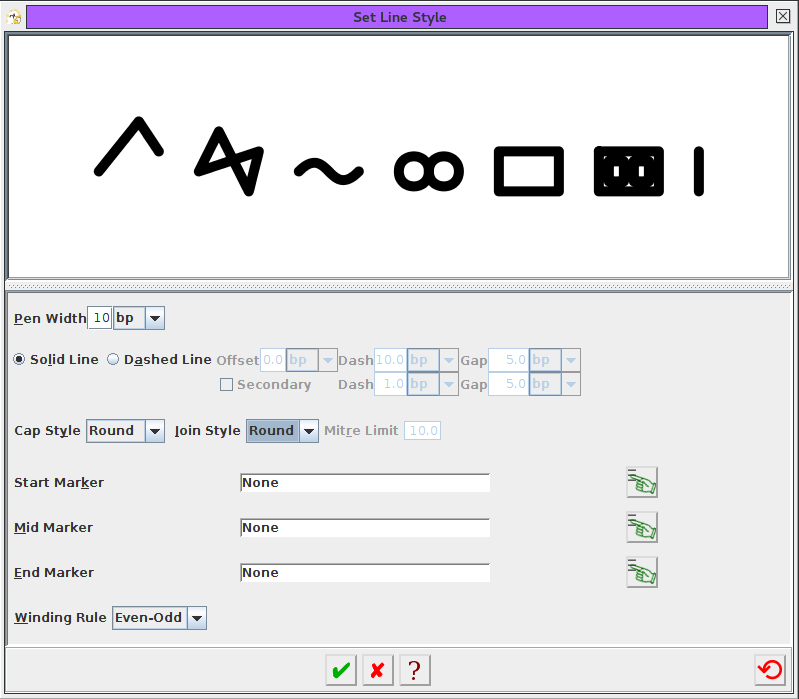 |
Figure 11.133: Change the Path Style
- The path should now look like that shown in
Figure 11.134.
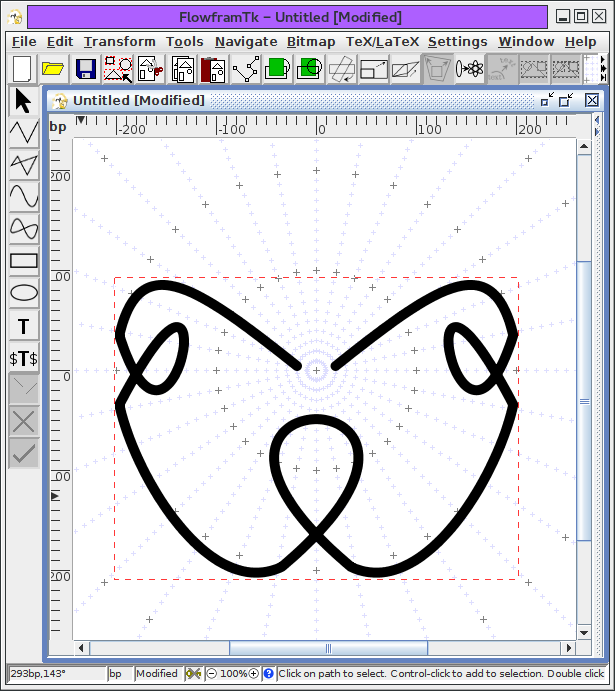 |
Figure 11.134: The Symmetric Path
- Ensure that the path is selected. Use the
Transform->Pattern->Set Pattern menu item. This should
open the dialog box shown in Figure 11.135. Set the
number of replicas to 11. Select the Rotational
tab, and set the angle of rotation to 30 degrees.
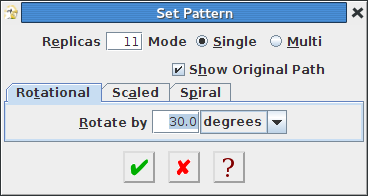 |
Figure 11.135: Setting the Pattern
- The shape should now look like that shown in
Figure 11.136.
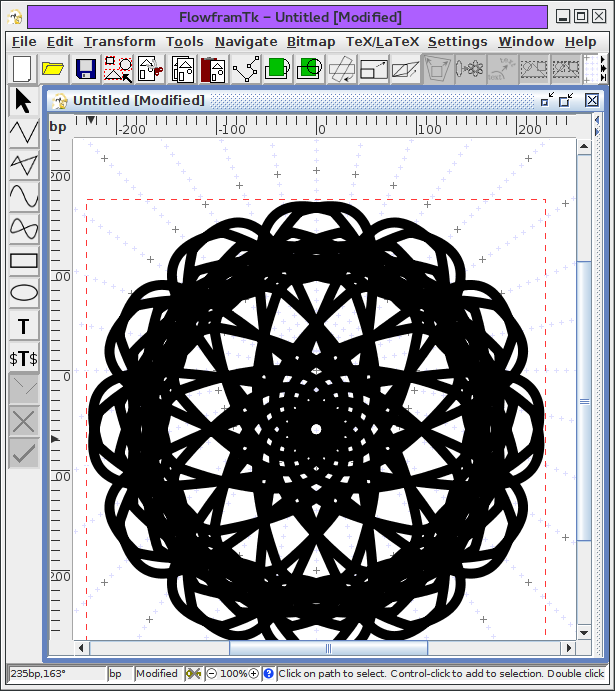 |
Figure 11.136: The Pattern
Switch to edit path mode. You should now see an extra
control point (coloured green by default). Move this control
to (0:0) (see Figure 11.137).
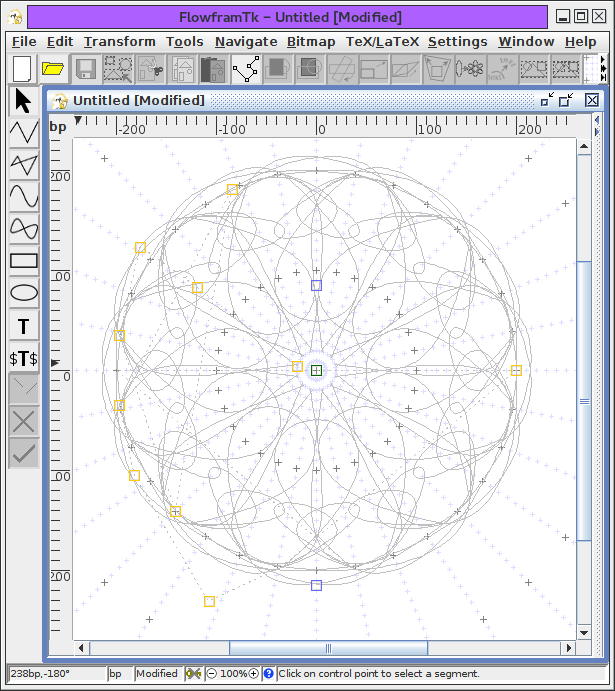 |
Figure 11.137: Move the Control Governing the Rotational Anchor
- Leave path edit mode, select the
ellipse tool and draw a circle
around the pattern (see Figure 11.138).
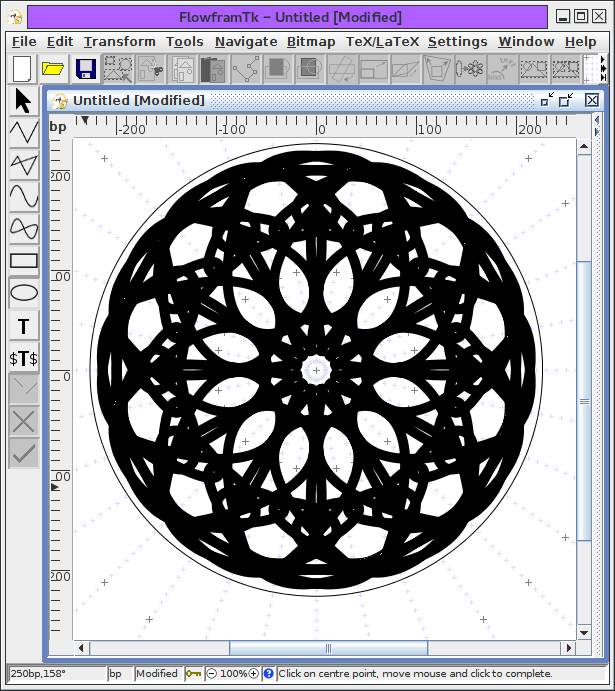 |
Figure 11.138: Add a Circle Around the Pattern
Select the circle, set its fill colour
to black and move the circle to the back
of the stack. Select the pattern, and set its
line colour to white. The
image should now look as Figure 11.139.
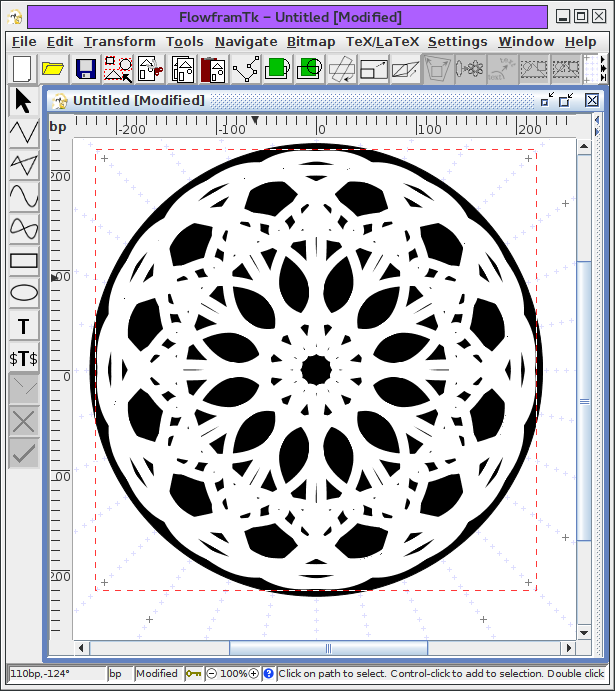 |
Figure 11.139: The Completed Lute Rose
Previous: A House With No Mouse Up: Step-by-Step Examples Next: JDR/AJR File Formats