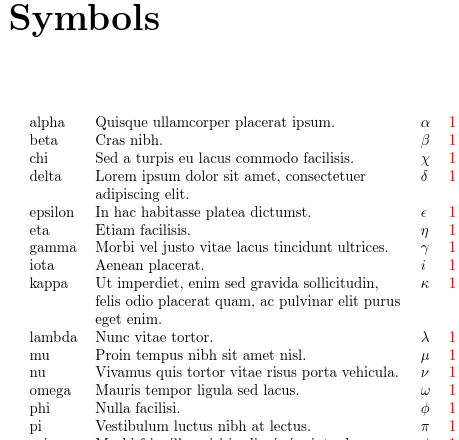
Gallery: Symbols Glossary
symbol field set, which means I need a glossary style that supports this, so I’ve used the altlongragged4col glossary style, which
isn’t available by default. It needs to be explicitly loaded using the
glossary-longragged package. I’ve decided to use the
symbols glossary rather than the main one. There’s no particular
difference except that the title is automatically set to “Symbols”
rather than “Glossary”. The file extensions are different as well,
but this isn’t a problem for makeglossaries or makeglossaries-lite as both those applications
can find out the extensions from the .aux file. Since I’m
not using the main glossary, I’ve prevented it from being created
with the nomain package option. The symbols package
option creates the symbols glossary. It also defines
\printsymbols so instead of using:
\printglossary[type=symbols,style=altlongragged4col,nogroupskip]
I could use the shortcut:
\printsymbols[style=altlongragged4col,nogroupskip]
The initial comment lines below are arara directives. You can remove them if you don’t use arara.
 % arara: pdflatex
 % arara: makeglossaries
 % arara: pdflatex
\documentclass{report}

\usepackage[colorlinks]{hyperref}
\usepackage[nopostdot,% don't put a dot after the description
            toc,% add glossary to table of contents
            nomain,% don't create the "main" glossary
            symbols% create the "symbols" glossary
            ]{glossaries}
\usepackage{glossary-longragged}

\makeglossaries

\loadglsentries[symbols]{example-glossaries-symbols}

\begin{document}

\chapter{Sample}

\forglsentries[symbols]{\thislabel}{\gls{\thislabel}. }

\forglsentries[symbols]{\thislabel}{\glssymbol{\thislabel}. }

\printglossary[type=symbols,style=altlongragged4col,nogroupskip]
% or:
%\printsymbols[style=altlongragged4col,nogroupskip]

\end{document}
This document loads the hyperref package, which
creates hyperlinks from the entries in the document (referenced
using commands like \gls) to their definition in the
glossary. These hyperlinks are displayed in red text. I’ve used
\forglsentries for this example to iterate over all the defined
entries. In practice, you would typically just use commands like
\gls{label} in the text. For example:
Here is a reference to the term \gls{alpha}.
I can reference the symbol (rather than the term) using
\glssymbol instead of \gls.
Here is a reference to the symbol \glssymbol{alpha}.
The entries have all been defined in the file example-glossaries-symbols.tex, which you should find installed in the same location as the glossaries package (or in a sub-directory called test-entries). The entry definitions look like this:
\newglossaryentry{alpha}{name={alpha},symbol={\ensuremath{\alpha}},
description={Quisque ullamcorper placerat ipsum.}}

\newglossaryentry{beta}{name={beta},symbol={\ensuremath{\beta}},
description={Cras nibh.}}

\newglossaryentry{gamma}{name={gamma},symbol={\ensuremath{\gamma}},
description={Morbi vel justo vitae lacus tincidunt ultrices.}}
If you don’t use arara, you need to run the following commands:
pdflatex symbols-glossary
makeglossaries symbols-glossary
pdflatex symbols-glossary
(See Incorporating makeglossaries or makeglossaries-lite or bib2gls into the document build.)
I’ve used the nopostdot option
to remove the terminating full stop that is placed by default after
the description (since the descriptions already end with a full stop). The entries all have a “1” after the description.
This is the page number on which the entry was referenced. In this
sample document all the entries were referenced on page 1. If you don’t want these numbers displayed, use the nonumberlist option.
Download: PDF (44.25K), source code (766B), sample glossary definitions (2.93K).