10.1 ⁑The picture Environment
[Drawing with TeX] The picture environment is defined in the LaTeX kernel,
so you don't need to load any packages to use it. However, it's
rather restrictive as to what you can actually draw.
This has a different syntax to most of the standard environments as
the arguments are placed in parentheses rather than curly braces.
Another unusual aspect is that the second argument (⟨llx⟩,⟨lly⟩)
is optional, even though it isn't delimited by square brackets.
The first argument (⟨width⟩,⟨height⟩) indicates the
width and height of the picture, and the second argument indicates
the co-ordinates of the lower left-hand corner (the origin, if omitted). In
both cases, the values are considered to be in terms of the length
\unitlength. The picture environment is in fact just another
instance of a box (see Volume 1) and its contents should only consist of
declarations and drawing or positioning commands.
The most commonly used of these commands is:
which puts ⟨object⟩ at the co-ordinates specified by
(⟨x⟩,⟨y⟩) (which are again in terms of
\unitlength). The ⟨object⟩ may be text, included
graphics (using the graphicx package's \includegraphics command), straight lines or arrows.
A straight line is specified by:
and an arrow (a straight line with an arrowhead) is specified by:
There are only a limited number of gradients available. In both
cases, the gradient is specified via the horizontal ⟨h⟩ and vertical ⟨v⟩
displacements, where ⟨h⟩ and ⟨v⟩ are both integers without
a common divisor. In the case of \line, ⟨h⟩ and ⟨v⟩
are restricted to values between −6 and +6,
inclusive, whereas in the case of \vector, those arguments
are restricted to values between −4 and +4,
inclusive.
Example:
The following code first sets the unit length to 1 cm
and then creates a picture that's 3 cm wide by
2.5 cm high. I've added a border around the picture
using \fbox.
\setlength{\unitlength}{1cm}% set the unit length
\fbox{%
  \begin{picture}(3.5,2.5)
    \put(0.5,0.5){A}
    \put(0.8,0.8){\vector(2,1){1.8}}
    \put(2.8,1.8){B}
  \end{picture}
}
This produces:
Slanted lines are drawn using a special font where the characters consist of small line segments. This is why there's a restriction on the available gradients.
You can also put circles or ovals in the picture using:
to create a circle with the given diameter, or
to create an oval whose width and height are given by ⟨w⟩ and ⟨h⟩.
In both cases, the lengths are again specified in terms of \unitlength.
The optional argument of \oval may be used if only a quarter or half
oval is required, instead of the full oval. In the case of a half oval,
⟨segment⟩ should be a single letter identifying which half:
l (left), r (right), t (top) or
b (bottom). For a quarter oval, ⟨segment⟩ should be
a two-letter combination, for example, tr indicates top
right.
A filled circle is created using the starred form:
Example:
\setlength{\unitlength}{1cm}
\fbox{%
  \begin{picture}(4.0,4.0)
   \put(1,1){\circle*{0.5}}
   \put(2,1){\oval(3,1)[bl]}
   \put(2,3){\oval(3,1)[tr]}
   \put(2,2){\oval(3,1)}
   \put(3,3){\circle{0.5}}
  \end{picture}
}
This produces:
The \shortstack command is similar to a single-column
tabular environment, where the contents are given in
⟨text⟩. As with tabular, this command creates a box
containing the tabulated data where the rows are separated using
\\ but unlike tabular, the rows
aren't evenly spaced. The optional argument ⟨align⟩ indicates
the horizontal alignment of the column. This may be one of
c (centre), l (left) or r (right). The
default is c. The box's reference point is the lower-left
corner. When \shortstack is used within the ⟨object⟩
argument of \put, the co-ordinates correspond to the reference
point.
Example:
\setlength{\unitlength}{1cm}% set the unit length
\fbox{%
  \begin{picture}(4,2.5)
    \put(0.1,0.5){\shortstack[r]{Secret Lab\\
    of\\
    Experimental Stuff}}
  \end{picture}
}
This produces:
You may remember \framebox and \makebox from
Volume 1. When used within the picture
environment, these commands have different syntax.
and
In both cases the reference point is the lower-left corner of the
box. The width and height of the box are given by ⟨w⟩ and
⟨h⟩ (again in terms of \unitlength). The optional argument
⟨align⟩ indicates the alignment of the text. The default
is to centre the text both vertically and horizontally. To change
this, the ⟨align⟩ argument may be one or two letters:
l (left), r (right), t (top) and
b (bottom).
There's another box similar to \framebox:
This mostly has the same syntax as above, but produces a dashed frame. The additional argument ⟨dash length⟩ specifies the length of the dashes.
Example:
\setlength{\unitlength}{1cm}% set the unit length
\begin{picture}(4.0,4.25)
  \thicklines
  \put(0.0,2.25){\framebox(2.5,2){Secret Lab}}
  \put(3.0,2.25){\framebox(1,2)[t]{of}}
  \put(0.0,0.0){\dashbox{0.2}(3.75,2)[br]{Experimental Stuff}}
\end{picture}
This produces:
There are two other commands provided for use in the
picture environment. These aren't used with \put.
As before, all lengths are in terms of \unitlength.
This draws a quadratic Bézier curve with the given start, end and curvature control points. LaTeX draws the curve using multiple points. More points results in a smoother curve but a longer document build time. You can use the optional argument to specify the number of points used to draw the curve.
This puts ⟨n⟩ copies of ⟨object⟩, starting at position
(⟨x⟩,⟨y⟩) and advancing the position by
(⟨inc x⟩,⟨inc y⟩) each time.
This example uses the picture environment to create
a simple postcard advertising an event. The
geometry package [110] is used to set a non-standard paper size
(6 in wide by 4 in high with no margins). I also used the
graphicx package to include the sample image
chicken.png.
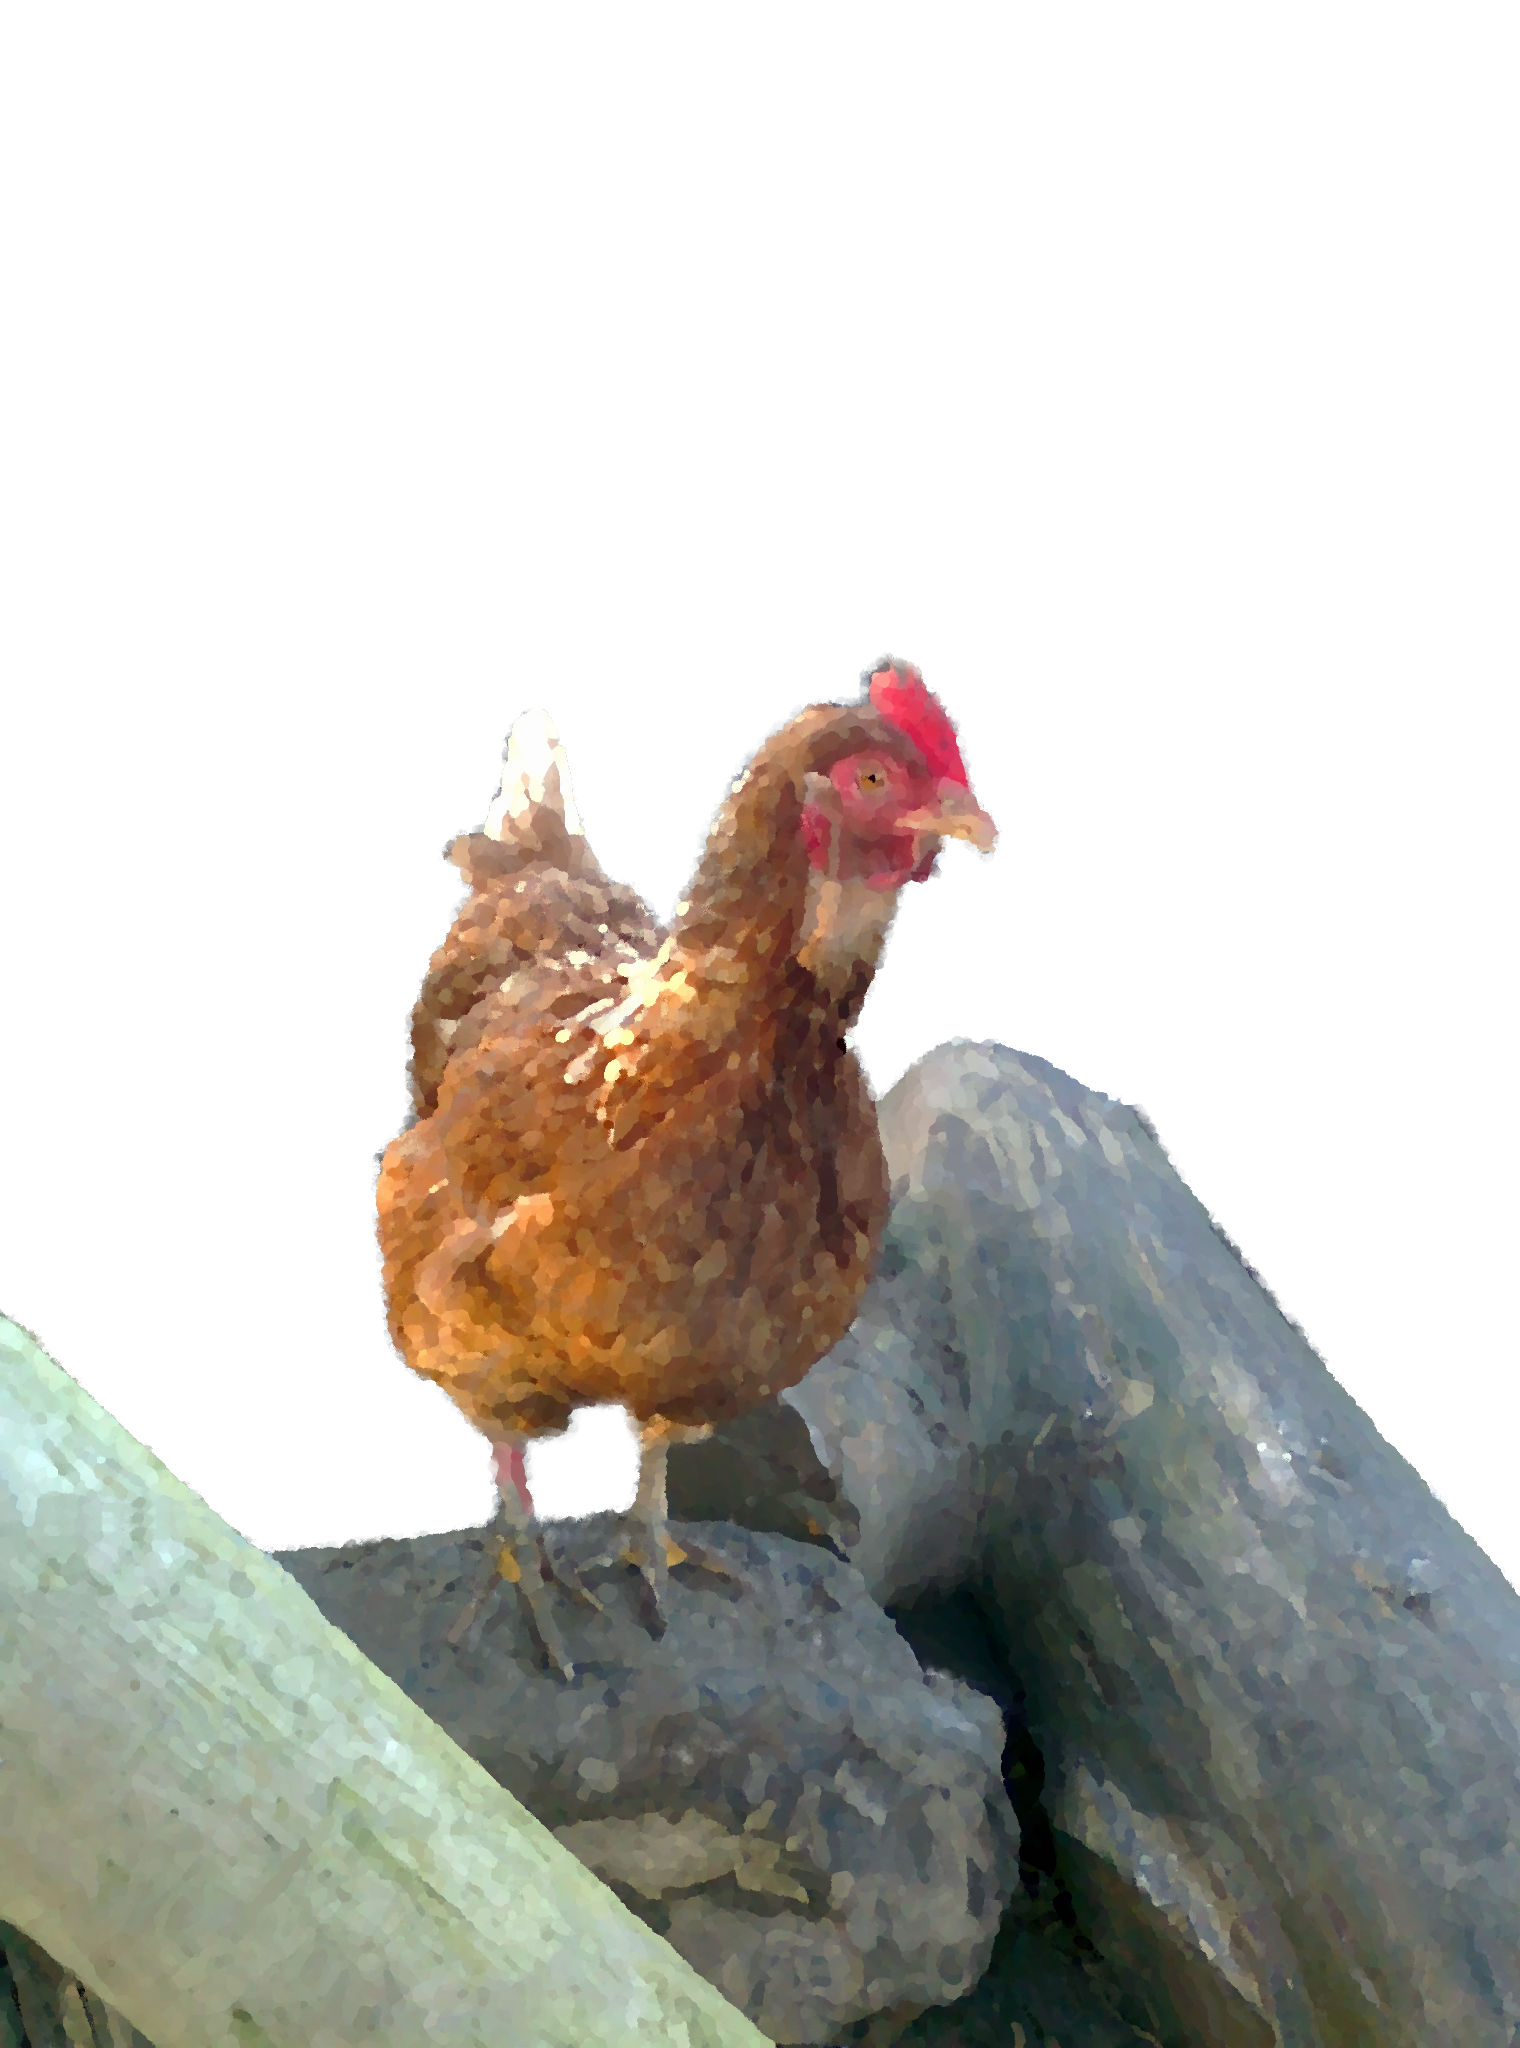
\documentclass[12pt]{article}

\usepackage[papersize={4in,6in},margin={0in,0in}]{geometry}
\usepackage{graphicx}

\pagestyle{empty}

\setlength{\unitlength}{1in}

\begin{document}
\centering
\begin{picture}(4,6)
 \put(0,1.25){\makebox(4,3.75){%
    \includegraphics[height=3.75in]{chicken}}}
 \put(0,5){\makebox(4,1){\large\bfseries
   Oh No! The Chickens Have Escaped!}}
 \put(0,0.5){\makebox(4,0.75){%
   \shortstack
   {%
   Written by award-winning author Dickie Duck\\
   Illustrated by internationally renown artist Jos\'e Arara
   }%
 }}
 \put(0,0){\makebox(4,0.5){\large\bfseries
   Book Launch 1st August 2014}}
\end{picture}

\end{document}
(You can download or view this document.) The resulting document is shown in Figure 10.1.
This book is also available as A4 PDF or 12.8cm x 9.6cm PDF or paperback (ISBN 978-1-909440-07-4).